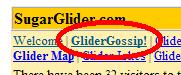
Step 1. click on Glider Gossip at the top of any page
|
 |
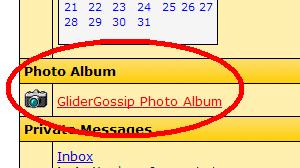
Step 2. Scroll down the page till you see the PhotoAlbum section and click on that link.
|
|
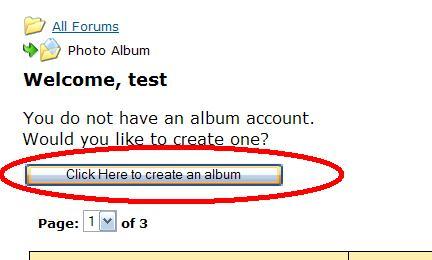
Step 3. You'll only ever see this once, when you intially create a photo album. Simply click the button.
|
|
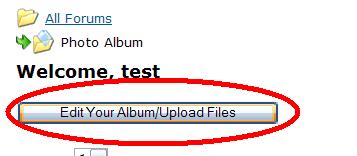
Step 4. Whenever you want to make changed to your photo album you'll see the following button. Simply click it to get started with uploading pictures.
|
|
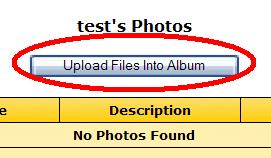
Step 5. Intially you won't have any pictures uploaded, so all you'll see is the buttow below. Click it go to the upload page.
|
|
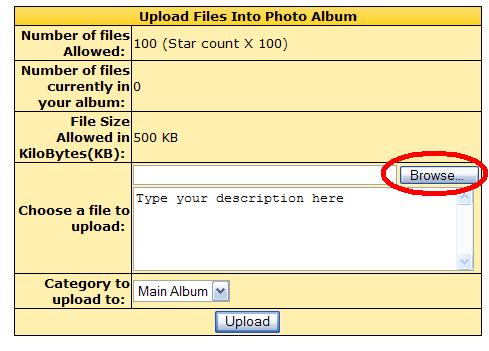
Step 6. There are two sections on this page, you're only interested in the section entitled "Upload Files Into Photo Album",
it's the bold header text at the top of the picture below. Click the "Browse" button to find a picutre on your computer.
|
|
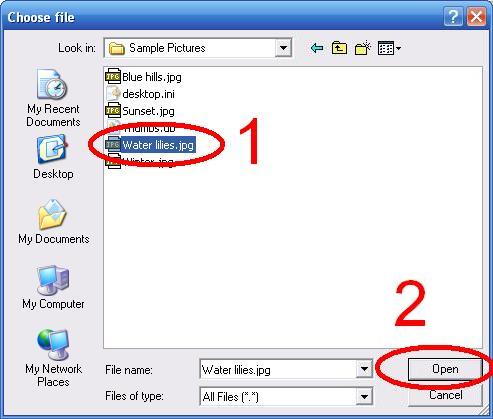
Step 7. After you find a picture, select it as shown by circle 1, and then click the "Open" or OK button as shown by circle 2.
|
|
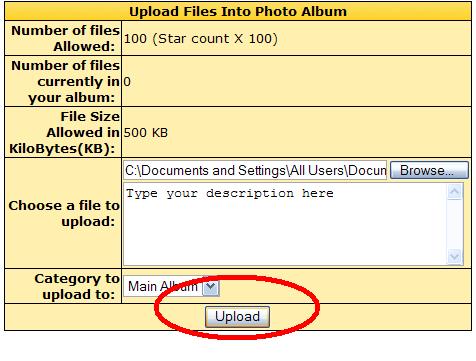
Step 8. You can change the description of your photo by changing the "Type your description here" text.
You can see this in the picture below. If you forget to type a caption you can always go back and change the caption without
having to upload your picture again. Now simply click the "Upload" button and wait for your picture to be uploaded. This may take
a while depending on how large your picture is. Once the picture is uploaded you'll be taken back to this page so you
can repeat step 8 for as many pictures you want to upload. You can see how many pictures you have uploaded because by looking at
the "Number of files currently in your album." After you're done uploading pictures then you're done.
|
|
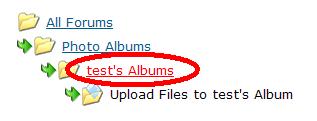
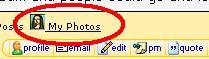
Step 9. If you want to look at your uploaded pictures simply click your album link as shown below. Of course, your name
will be in place of the word "Test."
|
|
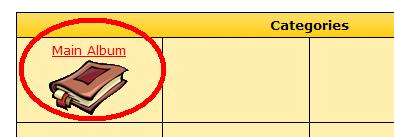
Step 10. If you've created other categories you'll see them here. The default category is called "Main Album." Simply
click your album category to view pictures.
|
|
Step 11. Click on a picture to view it.

|
|
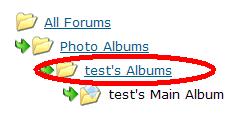
Step 12. If you want to edit the description of your pictures or do other things such as create new categories for pictures,
simply click to go to your main album listings. See the red circle below.
|
|
Step 13. Click on the "Edit your album / upload files" button.
|
|
Step 14. You'll see a listing of pictures that you've uploaded. Click any of the links on the row the picture is on to edit that picture's properties.

|
|
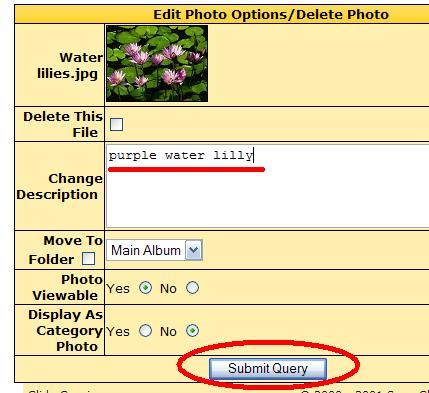
Step 15. There are multiple things you can do here.
If you want to delete a file, you can select the "Delete This File" checkbox and when you click the button the file will be deleted.
If you want to change the description, simply edit the test in the box.
You can move the image to a different category if you've created one. Select the checkbox for "move to folder" and select where you want to move the picture.
You can hide the picture by selecting "No" to the "Photo Viewable" option. You can make it visible again by selecting yes for the picture. You can always see your pictures, this only hides it from other people.
The last option, "display as category photo" will use this picture to replace the default photo album book.
Once you're done, simply click the button as shown by the red circle.
|
|
That's it
Once you upload pictures like this you'll automatically get a little Mona Lisa picture next to your name. People can click on
it and view your pictures.
|
|
|
|
|
 Home
Home Glider Gossip
 Gliderpedia
 Journals
 Resources