Register Register New Posts Active Topics | Search Search | FAQ FAQ

GliderGossip GliderGossip
Sugar Gliders
Toy Tutorial #1: Foraging Cup
Information
avatar
Mar 20 2012
02:40:52 PM
Hello! I am going to show you how to do a basic foraging cup toy.

This is what I am going to make:


Don't feel like you have to use the Easter Eggs for this project. You can use any kind of plastic cups. I feel I should tell you that it's best if you use a thicker, opaque plastic. The transparent ones crack easily so when you drill, just drill SLOW and keep that in mind.

Step 1: (If you use the Easter Eggs, use wire cutters/snips and cut so that you separate the bigger "half" from the smaller top "half". Also, cut off any excess plastic hinge of the egg that might stick out. You don't want these poking your babies' feet.)

DRILL a hole in the bottom of the cup, like so.


Step 2:

Set aside the cup and grab a C link. (I get mine from a place called the School Box. It's a child's learning toy shop. You can also substitute Baby Links for this, just make sure that you have it secured. You don't want it falling off the cage when suggies are foraging.)

Attach Rexlace (because it's non-toxic) and tie in a double knot. On the shorter end of the Rexlace, I attach what I call a clover bead (because it looks kind of like a 3 leaf clover) and then knot that, too. That keeps the shorter end from coming undone. PULL TIGHT!!!! Use tweezers to pull tight, if you must.

Additional tip: When getting a clover bead in, I cut the Rexlace at a diagonal. This helps assist the Rexlace to go through the clover bead, as I find the opening to be smaller than that of other beads. Therefore, when I am DONE pulling tight, I will take the wire cutters/snips and cut the Rexlace flat across--NO DIAGONALS. That makes it harder to come undone. (Sorry if this sounds repetitious but I want to make myself clear for this tutorial.)


Step 3:

Add beads to your liking. This will probably be your favorite part as there are endless patterns that you can make!


You will notice that at the end of each Easter Egg, I like to put another clover bead. This will help support the Egg Cup better, and also gives it a "budding flower" look.

Step 4:

You may wish to add a heavier bead at the end to weight it down. You could just add several more beads of the same pattern if you wish and just end it here. Remember to use the clover bead to help keep the Rexlace from coming undone, PULL TIGHT and cut the Rexlace flat across (no diagonal cuttings).


OR, you can go on to

Step 5:

Add a bracelet, a rattle, a bell, whatever you wish.

Additional Tip: Don't stress too much about the proper way of tying it down. If it doesn't budge and you like the way it looks, do it that way!


Ta-dah! Your foraging toy is done!


Information
avatar
Mar 20 2012
02:52:08 PM
RChurch Fuzzy Wuzzy Visit RChurch's Photo Album RChurch's Journal USA 1377 Posts
I am also adding these pics so you can see how I tied my bracelet down.


Again, note how I tied it off with a clover bead and then snipped it straight across so it won't unravel as easily.

Hope this helps!
Default, miscellaneous
avatar
Apr 01 2012
12:25:17 AM
Claire1622 Joey 32 Posts
Thank you so much I will defiantly try it!
Default, miscellaneous
avatar
Apr 01 2012
06:42:00 AM
dancingbeyor Face Hugger Visit dancingbeyor's Photo Album 423 Posts
Thanks! I'm bookmarking this.
Information
avatar
Apr 01 2012
07:07:33 AM
RChurch Fuzzy Wuzzy Visit RChurch's Photo Album RChurch's Journal USA 1377 Posts
Wow, this was an older post...I am surprised you managed to find it! And glad to know it came of some use!

Possibly post more toy making tutorials soon! :)
Default, miscellaneous
avatar
Apr 04 2012
06:38:50 AM
icuspeak Joey Visit icuspeak's Photo Album 39 Posts
I wanted to say Thank You for posting this. I went out the other day and got what I needed and made it. My babies love it. They get there treats then they jump on it all night long. I couldn't believe that something so simple can make them soooooo Happy. It also made me feel good knowing that I actually made something that they are so happy with and if it wasn't for this post I would have never had that feeling. Thank You again.
Information
avatar
Apr 04 2012
01:17:04 PM
RChurch Fuzzy Wuzzy Visit RChurch's Photo Album RChurch's Journal USA 1377 Posts
quote:
Originally posted by icuspeak

I wanted to say Thank You for posting this. I went out the other day and got what I needed and made it. My babies love it. They get there treats then they jump on it all night long. I couldn't believe that something so simple can make them soooooo Happy. It also made me feel good knowing that I actually made something that they are so happy with and if it wasn't for this post I would have never had that feeling. Thank You again.


Aw! You are so very welcome! I will definitely be posting more tutorials in future.

(Got pics?)
Default, miscellaneous
avatar
Apr 04 2012
01:30:34 PM
LHill Super Glider Visit LHill's Photo Album LHill's Journal VA, USA 347 Posts
I'll take two please. :)
Information
avatar
Apr 13 2012
10:06:59 AM
RChurch Fuzzy Wuzzy Visit RChurch's Photo Album RChurch's Journal USA 1377 Posts
quote:
Originally posted by LHill

I'll take two please. :)


You want em, I got em. PM me!
Information
avatar
Apr 13 2012
11:21:55 AM
Omis n Kais g-ma Pouch Protector Visit Omis n Kais g-ma's Photo Album TX, USA 7524 Posts
Thanks for posting. I was looking for this one.
Information
avatar
Apr 13 2012
11:22:34 AM
RChurch Fuzzy Wuzzy Visit RChurch's Photo Album RChurch's Journal USA 1377 Posts
You're welcome! Glad I could help!
Default, miscellaneous
avatar
Apr 13 2012
12:01:17 PM
TJones09 Goofy Gorillatoes Visit TJones09's Photo Album 3524 Posts
I love your tutorials, keep-em coming.
Information
avatar
Apr 13 2012
12:13:08 PM
RChurch Fuzzy Wuzzy Visit RChurch's Photo Album RChurch's Journal USA 1377 Posts
quote:
Originally posted by TJones09

I love your tutorials, keep-em coming.


YAY!
Information
avatar
Sep 03 2012
12:45:58 PM
RChurch Fuzzy Wuzzy Visit RChurch's Photo Album RChurch's Journal USA 1377 Posts
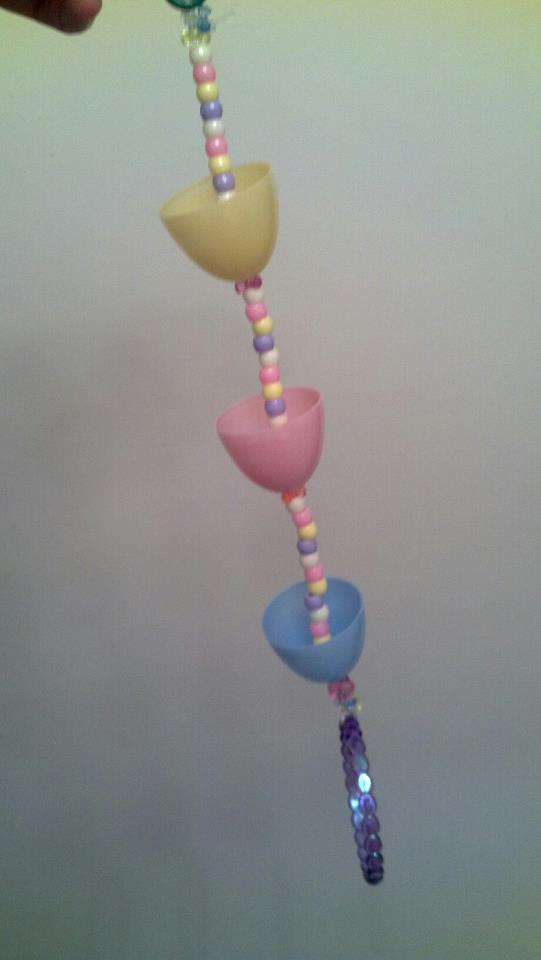
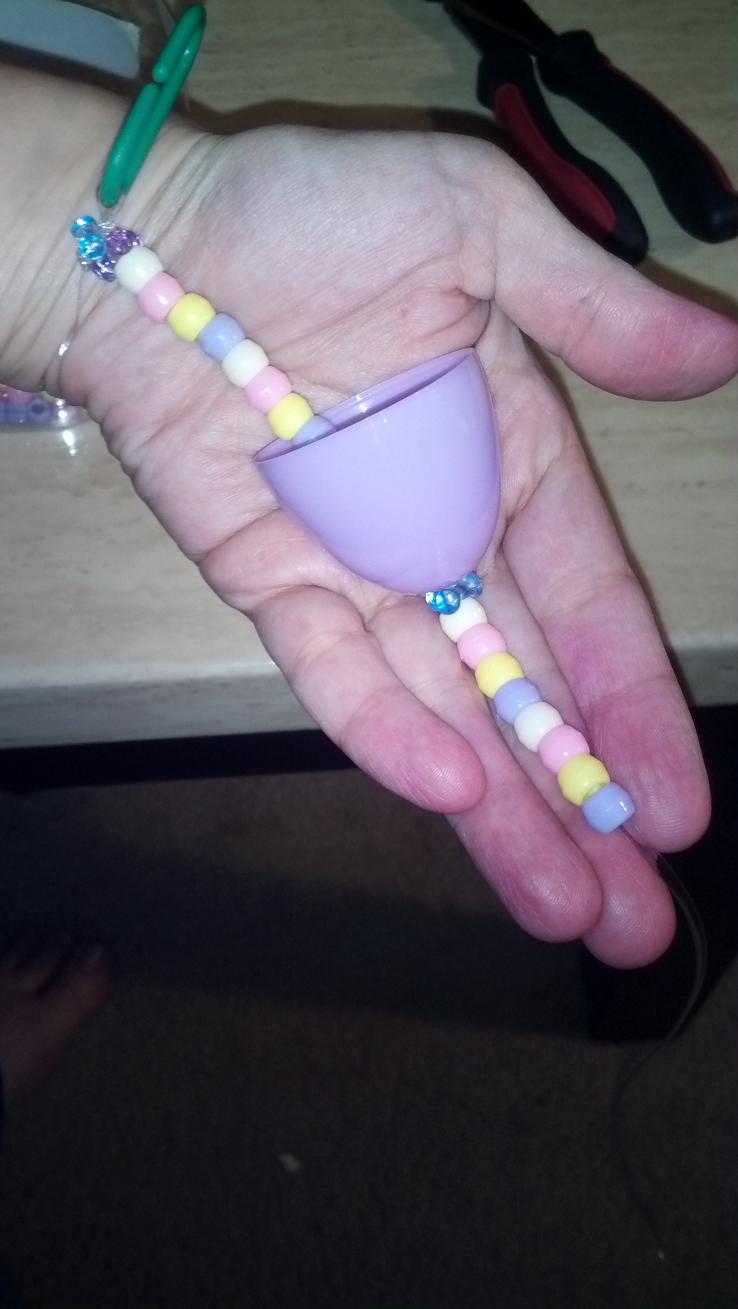
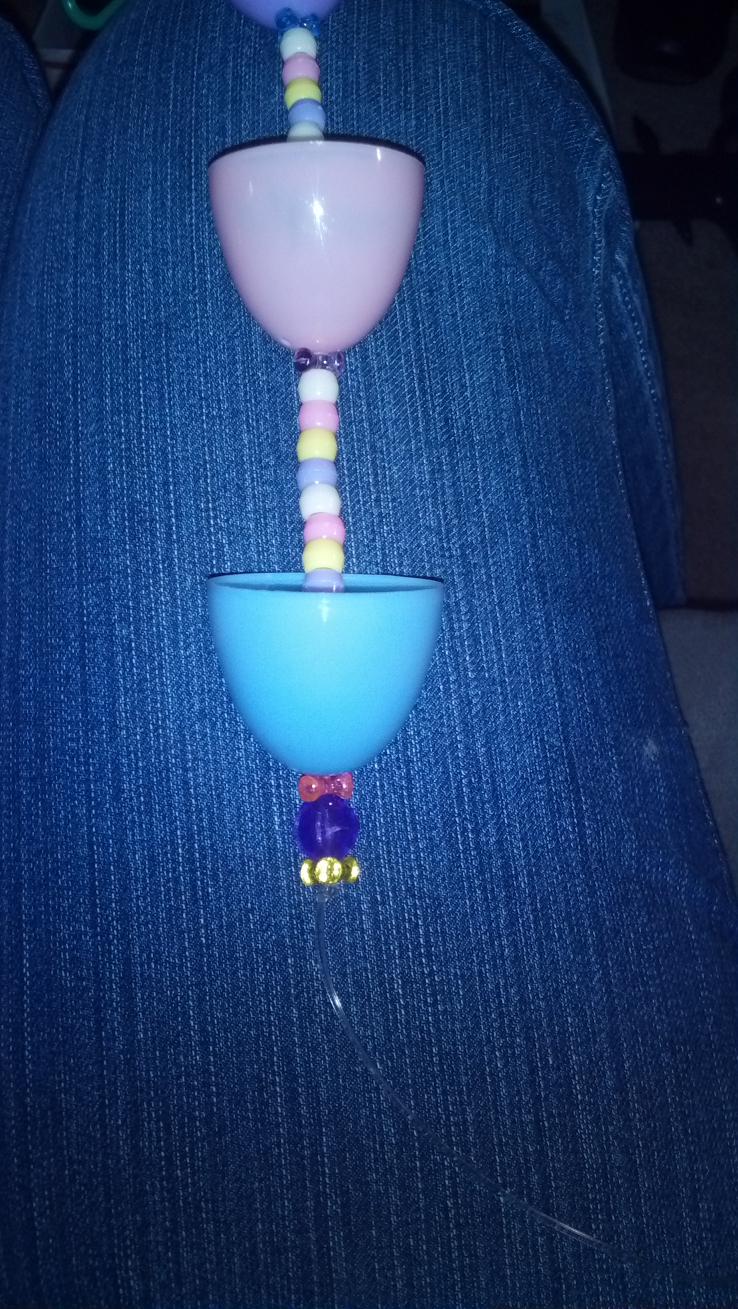
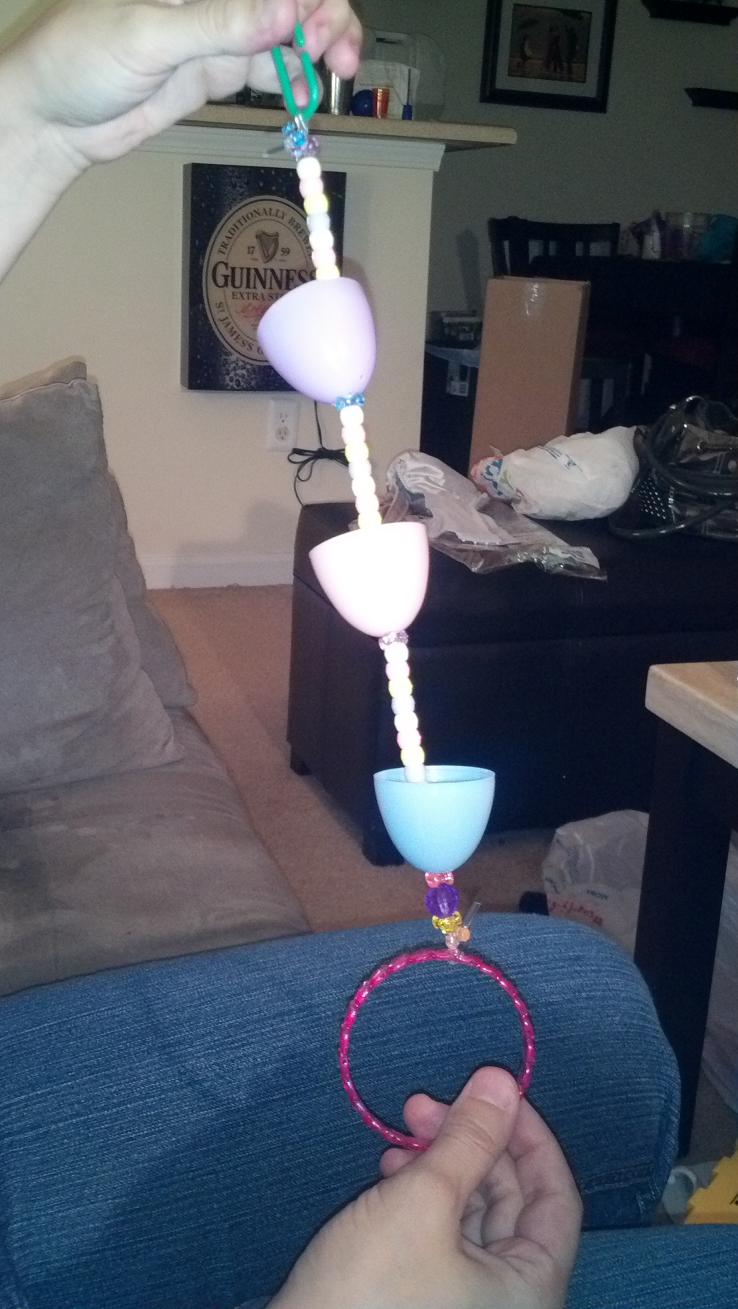
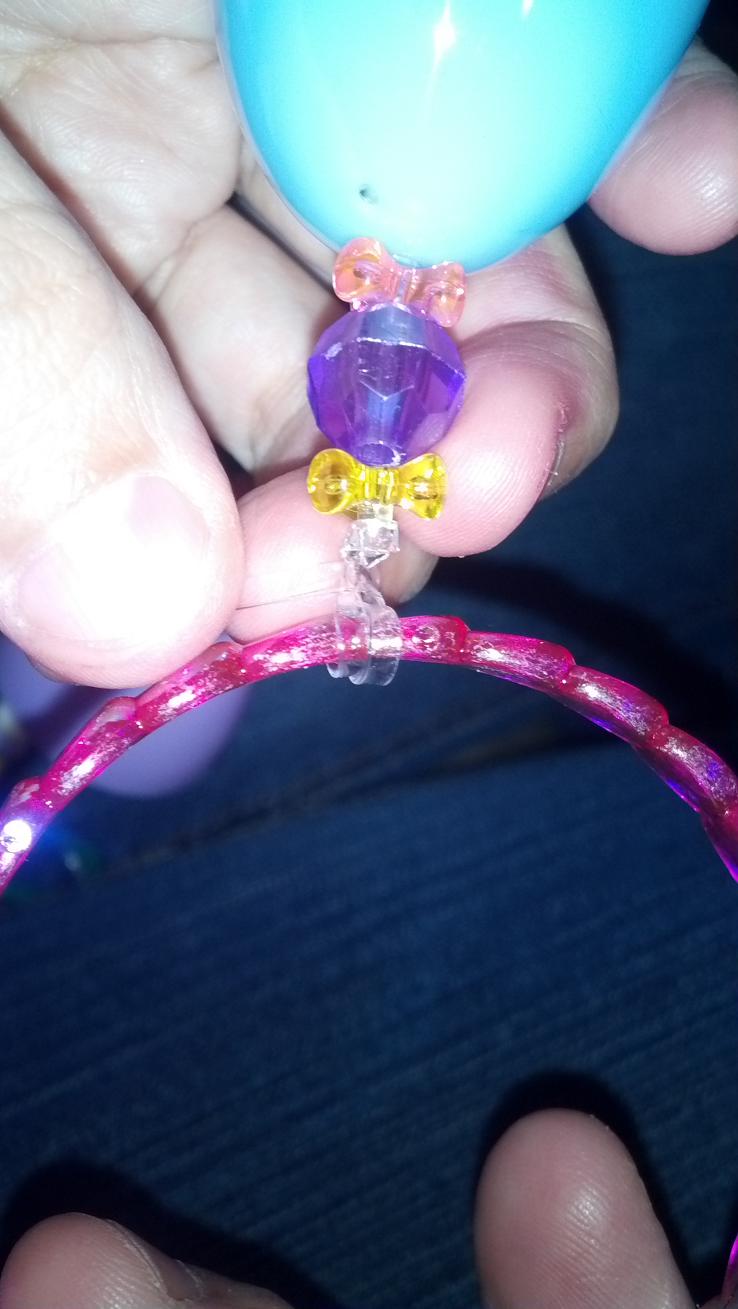
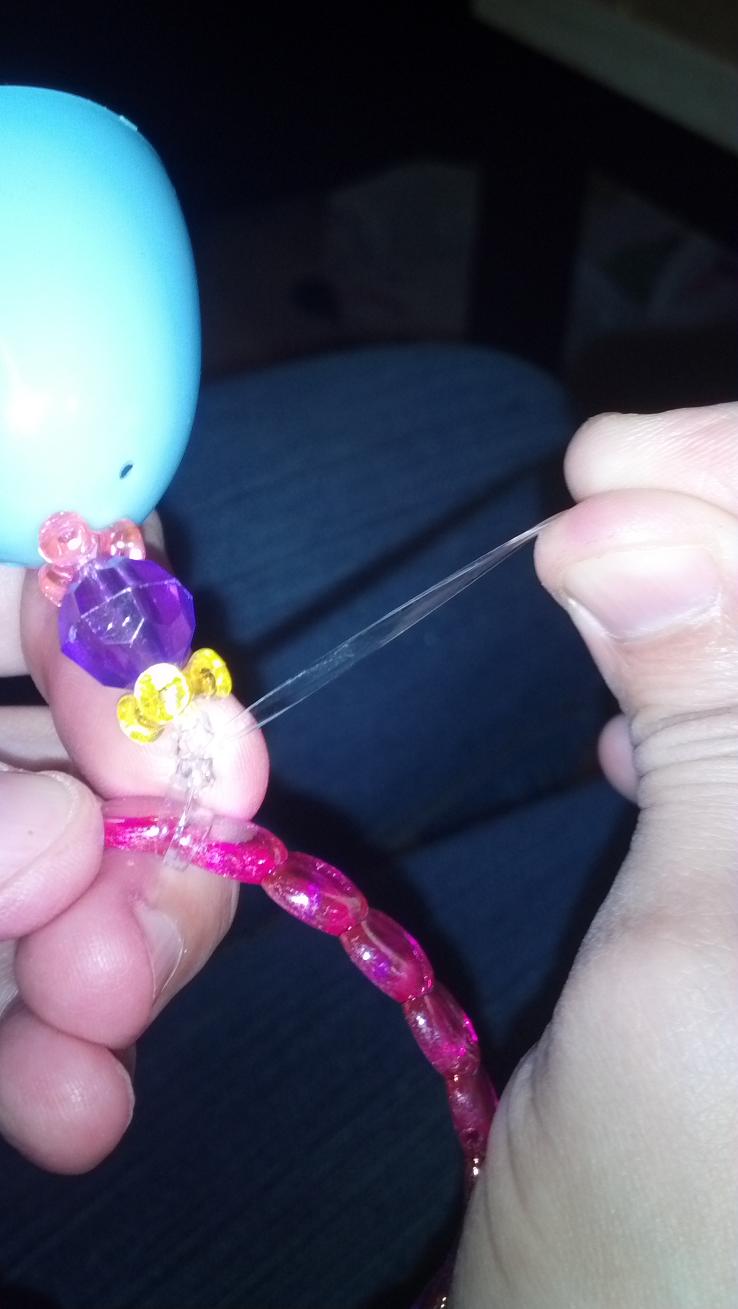
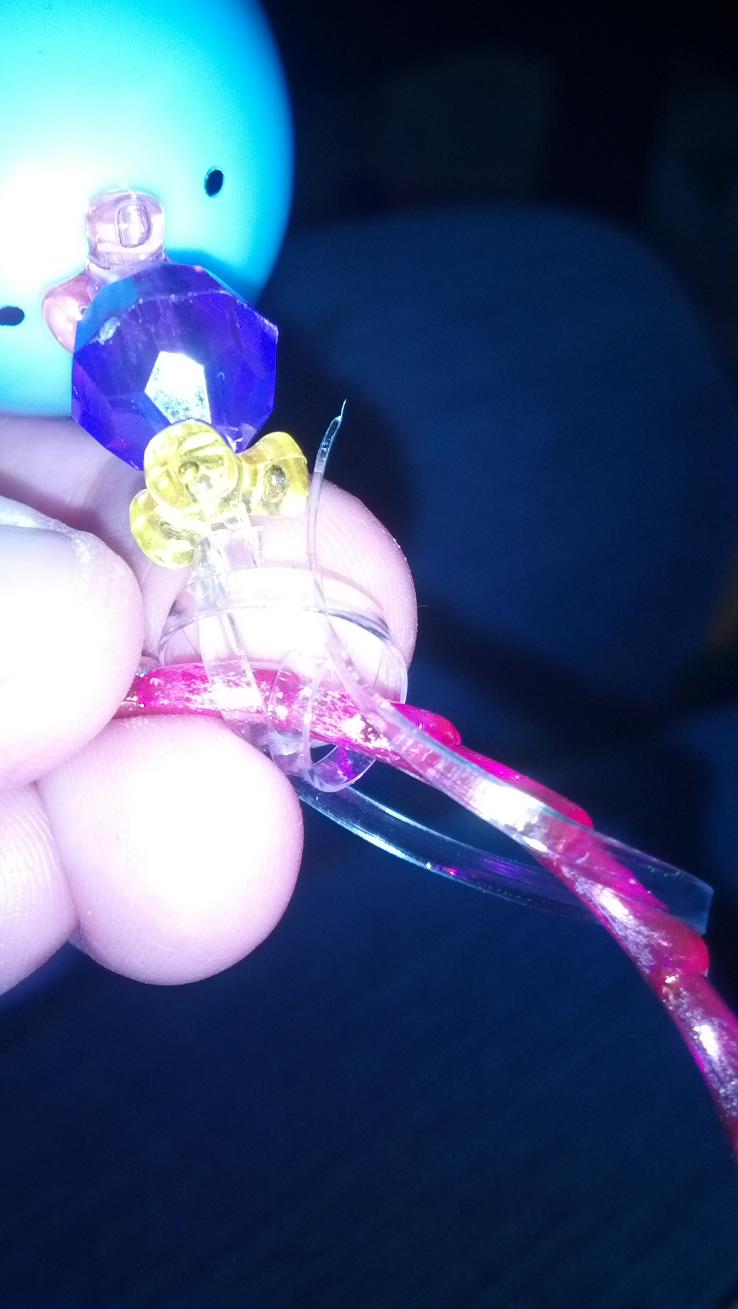
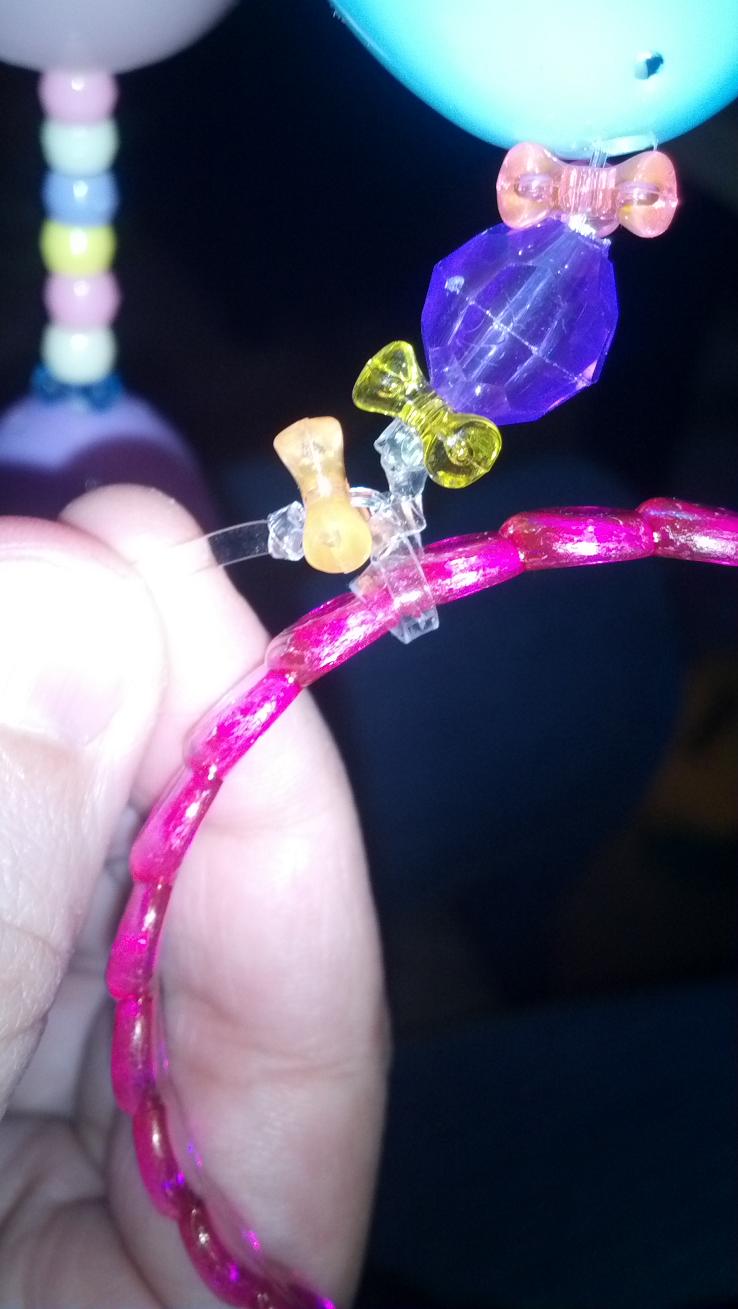
In getting organized, I put all of my basic foraging Easter Egg cup toys up on a Baby Link. Now check this out:


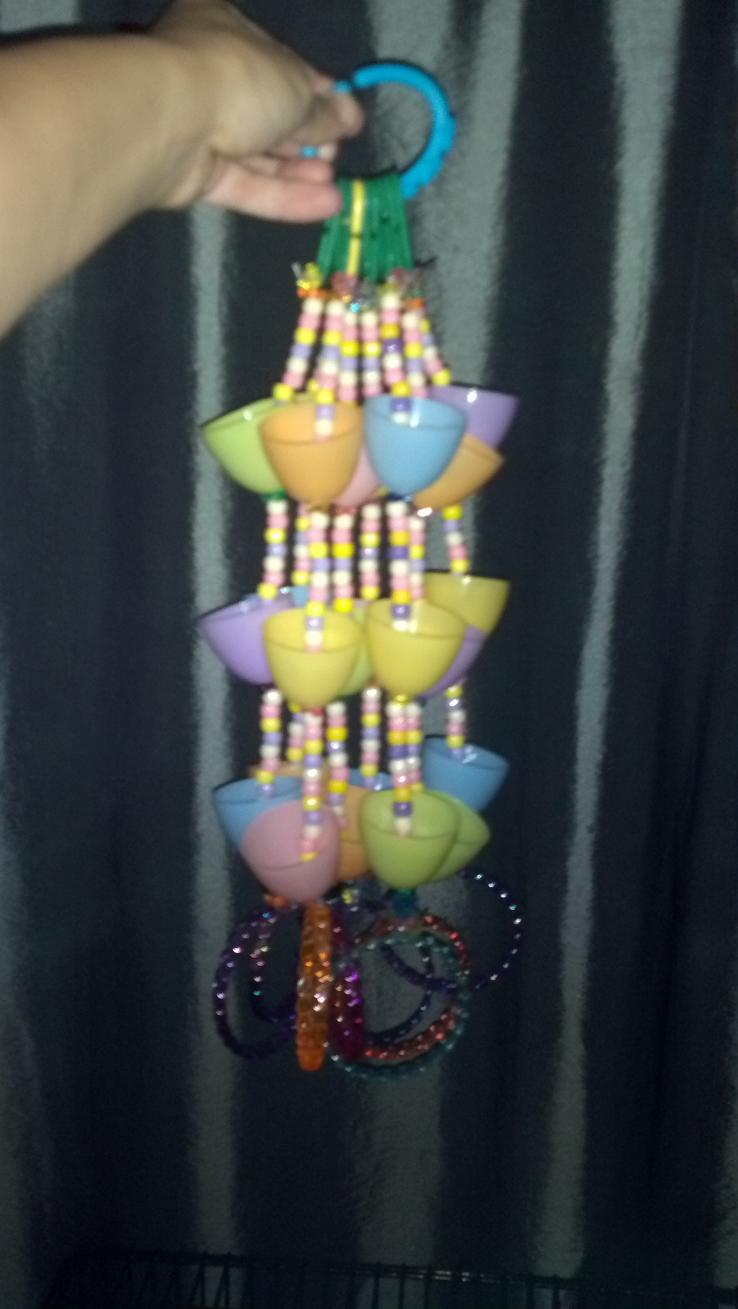
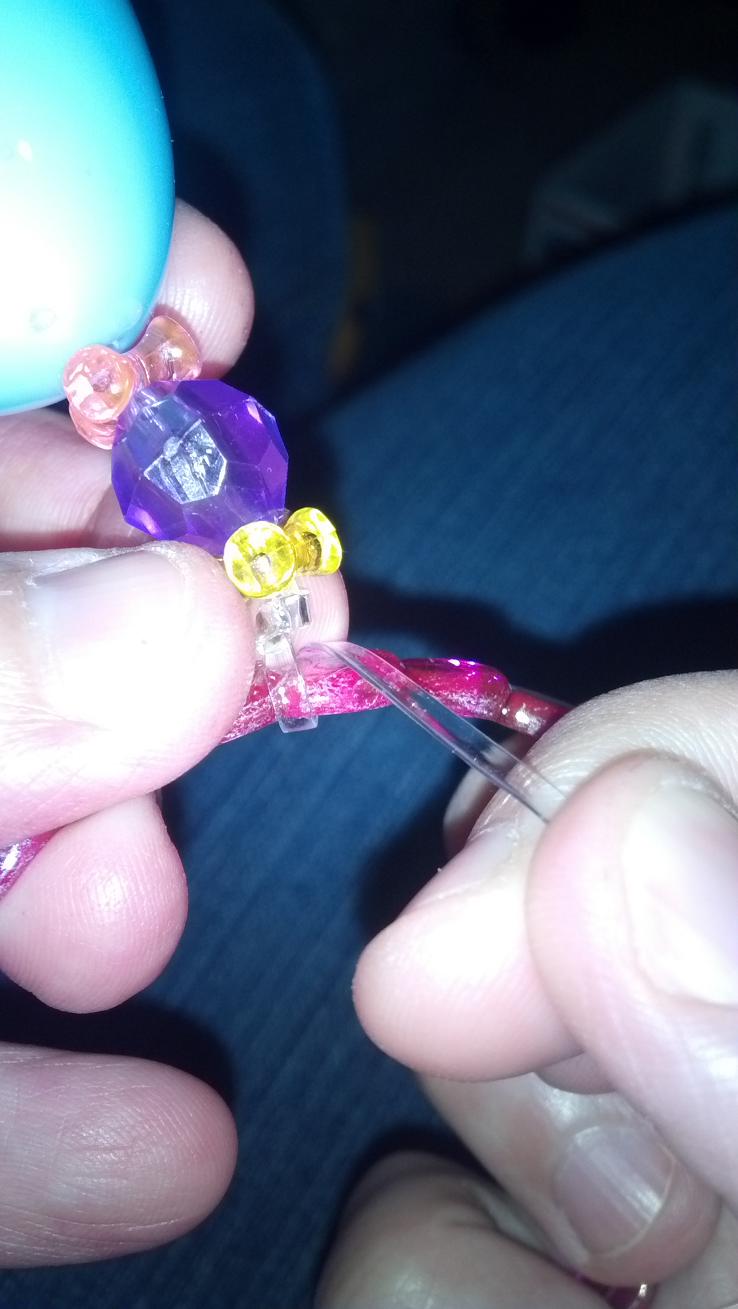
Wouldn't this make for an AWESOME foraging fun EXTRAVAGANZA? This is why I like making lots of single stranded foraging cups. You never know where inspiration will hit you and with a simple clip, you've converted a simple toy into a very cool and "complex" one! Just be sure to hang lots of braided fleece rope and/or fleece vines and/or chain so they can get to all the cups safely.
Information
avatar
Sep 03 2012
01:46:18 PM
Omis n Kais g-ma Pouch Protector Visit Omis n Kais g-ma's Photo Album TX, USA 7524 Posts
Rebecca, I'm about to send you all my toys so you can assemble them and $20 for time and shipping back. You are awesome!
Information
avatar
Sep 03 2012
02:50:39 PM
RChurch Fuzzy Wuzzy Visit RChurch's Photo Album RChurch's Journal USA 1377 Posts
quote:
Originally posted by Omis n Kais g-ma

Rebecca, I'm about to send you all my toys so you can assemble them and $20 for time and shipping back. You are awesome!


Thanks! Wait til you see my new tutorial...which will be coming out soon!!!
Information
avatar
Apr 17 2013
06:15:51 PM
Nova Joey Visit Nova's Photo Album MI, USA 21 Posts
Instead of using the rexlace could i use leather strips? i know string is a bad idea, so i was thinking of using leather but i dont know if it could be toxic or not
Information
avatar
Nov 24 2014
02:46:07 PM
AllieRyan Joey USA 37 Posts
This. Is. Awesome.

It makes me want to be so crafty with my little gliders! I need more tutorials! haha
Information
avatar
Nov 24 2014
04:51:11 PM
Candy Cuddle Bear Visit Candy's Photo Album FL, USA 8110 Posts
Leather is often dyed and there is no way to know if the dye is glider safe. I would stick to the Rex Lace.
Toy Tutorial #1: Foraging Cup

GliderGossip GliderGossip
Sugar Gliders
Toy Tutorial #1: Foraging Cup