Help On Images
To add images into an article they must be uploaded first by editing a document and using the  button in the editor window. You can also browse the image library by clicking the button in the editor window. You can also browse the image library by clicking the  button and then clicking the image you want to insert into the document.
The image macro, which looks like <Image("glider.jpg")>, has only 1 required parameter, which is an image name. By browsing the image library you should never have to type this, as it should be inserted automatically in the document, and it will be inserted with place holders for optional fields.
The default example of what the image library inserts into an article looks like <Image("97081046.jpg,,,left,,default")/>. The image macro requires that everything be within double quotes and the different fields are separated by commas. button and then clicking the image you want to insert into the document.
The image macro, which looks like <Image("glider.jpg")>, has only 1 required parameter, which is an image name. By browsing the image library you should never have to type this, as it should be inserted automatically in the document, and it will be inserted with place holders for optional fields.
The default example of what the image library inserts into an article looks like <Image("97081046.jpg,,,left,,default")/>. The image macro requires that everything be within double quotes and the different fields are separated by commas.
Optional Parameters
The parameters are as follows:
- file name of the image
- width
- height
- alignment
- revision
- caption
Width, Height
The default is to not list a width or height, which means the image will be it's normal size. If you need to change the default size, here are a couple of different ways to accomplish this.
If only width or height are specified, the image is displayed accordingly and is sized according to it's natural proportions. If both are specified, the image is sized accordingly and not according to any proportions. Here are examples of an image with it's default size, a width of 50, a height of 50, and a width of 250 and height of 50.
A default image with no parameters, <Image("97081046.jpg")/>
A width of 50, <Image("97081046.jpg,50")/>
A height of 50, <Image("97081046.jpg,,50")/> (notice that this has an extra comma, the width field is left blank)
A width of 250 and height of 50, <Image("97081046.jpg,250,50")/>
Alignment
Alignment can be either left, right, or center. When no alignment is specified, the images will default to center. Here is an example of all three.
<Image("97081046.jpg,50,50,left")/>
<Image("97081046.jpg,50,50,right")/>
<Image("97081046.jpg,50,50,center")/>
<Image("97081046.jpg,,,left")/>
<Image("97081046.jpg,,,right")/>
<Image("97081046.jpg,,,center")/>
Revision
Images can have different revisions. This is based on the file name. For example, if you upload a file named "bob.jpg" and someone else uploads a file named "bob.jpg" at a later date, your file will not be overwritten. There will be two files in the image library named "bob.jpg", but will have different revision numbers.
If you leave out the revision number in the macro the image displayed in an article will be the most recent version or revision. If you want a specific version of an image, simply browse the image library to determine the revision number of the particular image you want. Here are some examples:
<Image("97081046.jpg,,,center")/>
<Image("97081046.jpg,,,center,")/>
<Image("97081046.jpg,,,center,1")/>
<Image("97081046.jpg,,,center,5")/>
<Image("97081046.jpg,320,240,left,2")/>
Caption
The final parameter is a caption. Their is only one restriction for the caption, it must not have any double quotes, ". If you need a double quote, simply type two single quotes in a row, ' and ' look like ''.
There are three basic options for the caption. Leaving the parameter blank will display nothing for the caption. Use the word default to use the default caption for the image when it was uploaded. A "default" caption is only displayed if one exists. The final option is to type your own caption. Here are examples of each.
<Image("DSC08230.JPG,320,240,,")/>
<Image("DSC08230.JPG,320,240,,,default")/>
<Image("DSC08230.JPG,320,240,,,This is my caption with ''4 single quotes'' that look like double quotes.")/>
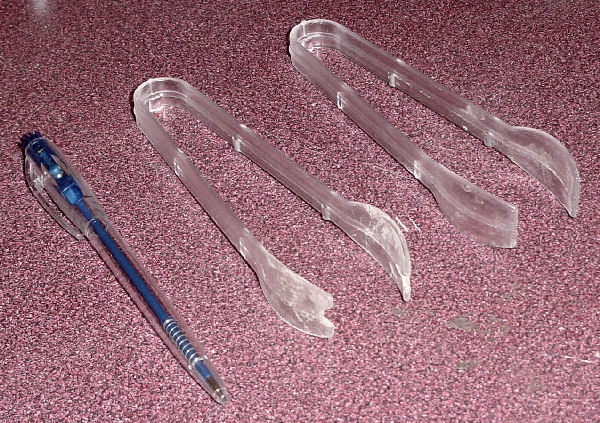 | Disposable lunch meat tongs are sized perfectly for use with worms |
| This is my caption with ''4 single quotes'' that look like double quotes. |
More
Help On Macros
|
 Home
Home Glider Gossip
 Gliderpedia
 Journals
 Resources
 Fun Stuff