TJones09 Goofy Gorillatoes   3524 Posts 3524 Posts
Ok, so the cage was delivered today 2:20pm, and I started taking it out of box and began to assemble by 2:25. The box looked in good shape, but when I examined the parts, one side of the back was pretty bent in center. I proceeded to put the stand together, then put the locks on the door. I was wiping down cage when my hubby came home and he helped me assemble the rest. It took overall just under an hour to get it all in place.
Then I began to furnish the cage, photos will follow, but I'd like to give some impressions I have of this cage so far, a review so to say.
I'll start with the cons: It's a short list.
1) I miss having a plastic drop tray, this one is metal, I knew it going in, but I really prefer the plastic ones. I'm sure I'll adapt ok..
2) The shelves are not able to be placed left to right. I was surprised in a way because I believed the cage was to be more of a square., but you can only use the shelves front to back.
3) The storage shelf doesn't fit my storage drawers, I had hoped. So I'll have to try to figure the best way to utilize the space I have. I'll do that tomorrow.
4) The shelves were kind of a pain in the butt to place in, but they aren't going anywhere, so that will be listed in my pros, lol.
That's pretty much it for cons so far, with the exception that there was a bent wall, but that didn't impede on the assembly really too badly & the tray was bent up a bit on sides as well, and chipped a little when hubby tried to straighten it.
The pros:
1) I did get 3 shelves, 3 ladders, which I was only expecting 2 of each, not sure I'll ever use them all, but it was unexpected.
2) The 2 wood perches were very thick round, and fit side to side, this came in handy especially since I have handy fleece pole covers for the Rept, playground I've made for the girls "out of cage" play. I have extras, so I may be able to make the wood poles last a little longer being they're so big round these pole covers fit awesome.
3) This cage is huge! Well seems so, compared to their previous cage, but it fits in our corner i prepared in our bed room as perfectly as I expected.
4) The added space inside allows for me to be creative and use part/parts from the girls first vacation cage.
5) I could use the 2 wraps from previous cage and I had extra to lay across the top, (eventually would like to purchase enough fleece to make a 1pc wrap). This will allow a large space that I can store their current vacation cage stacked right on top and allow for a few odds and ends to be handy.
6) The doors are big, very big, I had no trouble getting large toys in there or reaching in to place things.
I just love all the options this cage offers, so far. It may be new impressions of this cage to post at a later time, but for now, lets just get to the pics. I took a lot! It took me a while to configure the space especially due to shelf placement, but I had some ideas already in mind, and all & all, it turned out pretty well. There will be some extra toys & items added over coming days. Also added second water bottle.
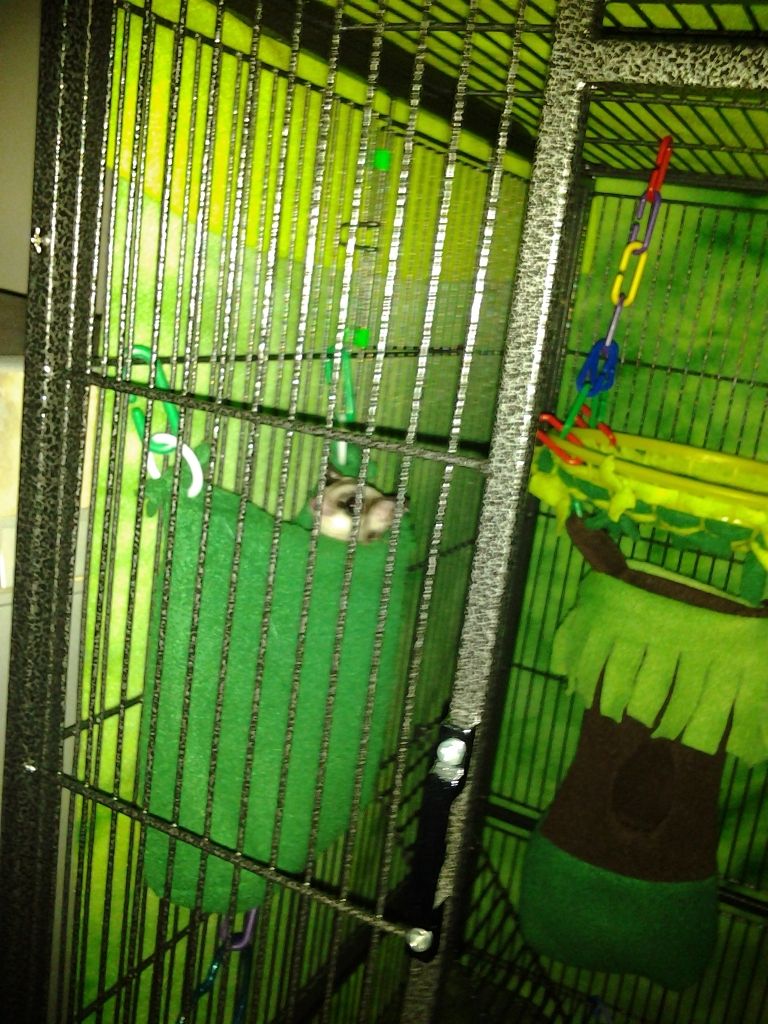
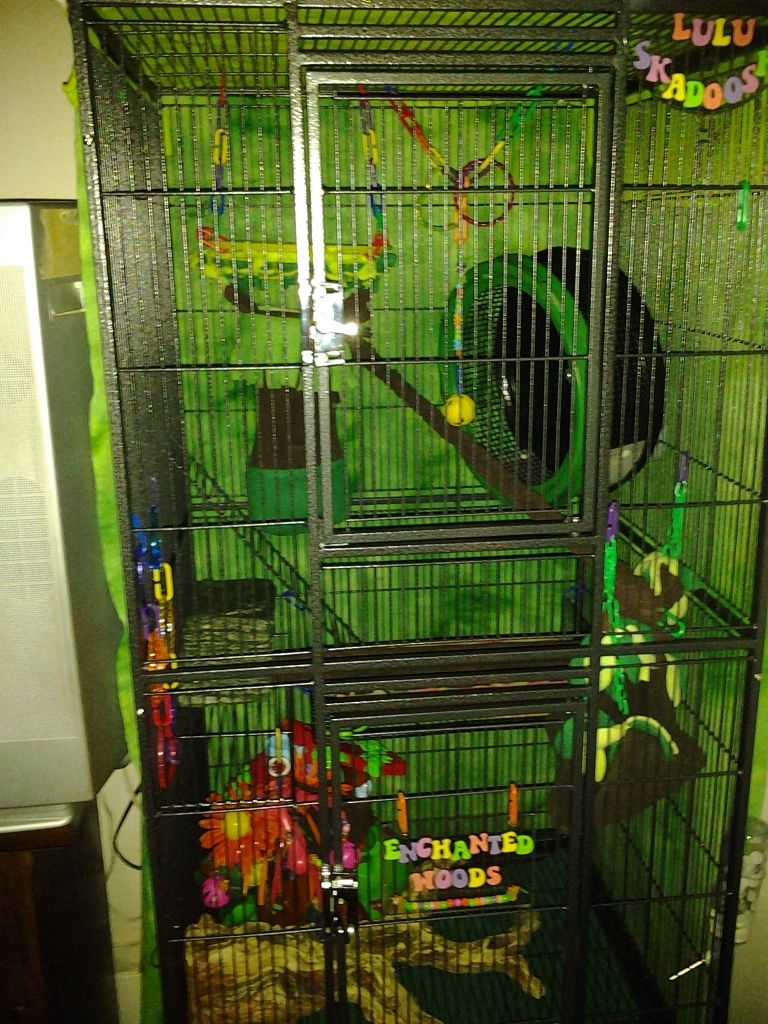
The best "overall" pic I could get
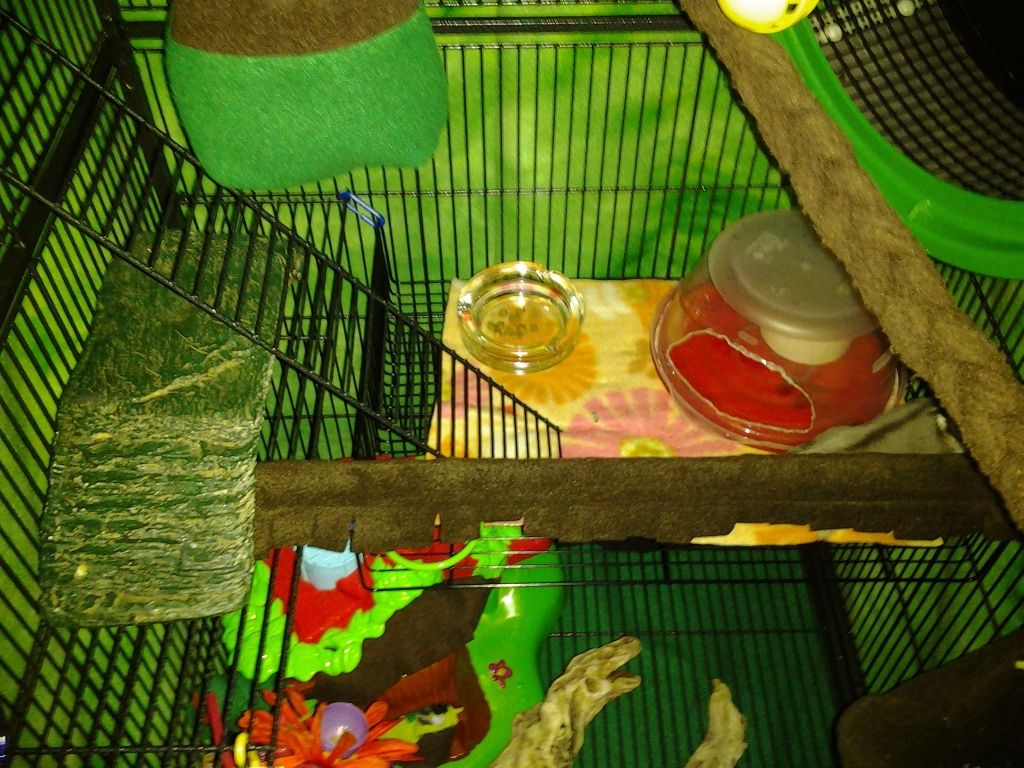
Lower half (I already made a change since photo was taken, but planning on adding another wheel soon, so it may change again)
The middle (Dinner served)
The top (definitely more to be added later)

Hope my girls enjoy! Hope you all enjoyed my photos.
sweetandsour79 Glider 135 Posts the cage looks really good. the babies are going to be so happy. I am so happy u got it and was able to put it together today. You are going to be just as excited to see them explore it when they wake up. like watching your kids wake up on xmas morning :) I love the decor. TJones09 Goofy Gorillatoes 3524 Posts New pics after adding some more stuff. A couple more hanging toys, couple of vines, & some straws here & there. Dining has been removed. Overall 
Floor area For real this time, lol. Planning on adding a new wheel down there in the right corner, (travel size) soon. If it doesn't fit, it will be moved to left shelf maybe. 
Middle area 
Top area
I still haven't figured out the ball pit. I could put it back in that corner, but I think I want to try the travel size wheel back there first. I tried placing fake branch in vertical position, but just wasn't feeling it looked the best that way this time. We'll see, as always, habitats are ever changing, whether in a big or little way.
Jaime911 Joey 43 Posts WOW! I wish I was a glider in that cage! Looks so much fun! TJones09 Goofy Gorillatoes 3524 Posts Thanks everyone!! Klwallace, They sit on it & eat, sometimes I sit some yummies into the little nooks & crannies when it's laying horizontal. They also would like to run under it when it was in that position in their old cage. When it's standing vertical, there are 2 holes that I can stick treat holder into. (The cups on sticks that come with ball & cup favors) Like this. 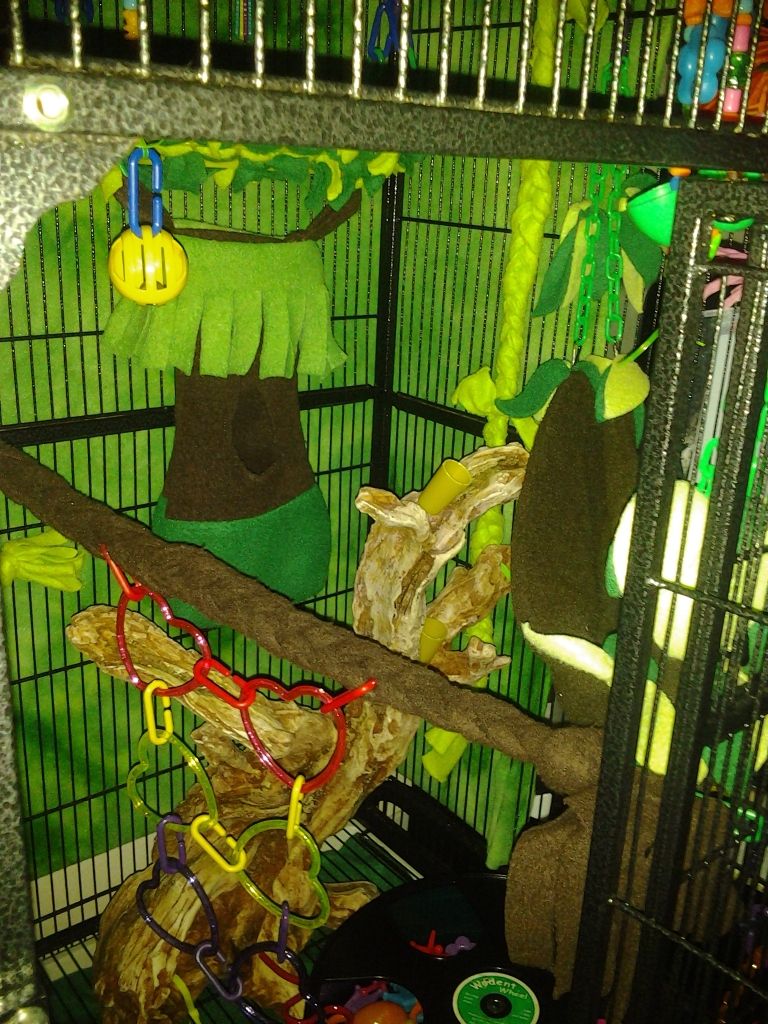
I saw Skadoosh eating from one 1x, the rest of the time, I would just find the cup/sticks laying in their toy box or cage floor. LOL. Without food or treat, they really don't have much interest. I did play around with the floor area, and tried the branch up vertical again, it looked ok, but I decided to wait a little bit. I want to add a smaller wheel maybe to the floor or to the left shelf area. Also, I'm thinking of using different shelf from the old vacation cage (actually the floor grate) instead of the roof, so there isn't as much of a drop. Not that I don't mind the drop, but I'd like to see the clearance of everything when I get the travel wheel. For now the floor looks pretty much the same with the exception of a few more toys hanging around. I will most likely tinker with it even more, but I think I have the "bones" of it pretty much down. Of coarse, there will always be changes to the "Woods" lol. Darbi91 Glider 83 Posts Wow! How awesome! I think I know what my Sugs will be getting for Christmas :D
 |
New Message |
 |
|
. |
|
 Home
Home Glider Gossip
 Gliderpedia
 Journals
 Resources